When you purchase a new Android phone, it will prompt you to link your Google account. This will help you to smoothly access your personal data on your new phone, such as contacts, passwords, pictures, etc. However, there are times when some problems can arise while adding your account.
This article instructs you on how to fix the problem of communicating with Google servers using various troubleshooting methods.
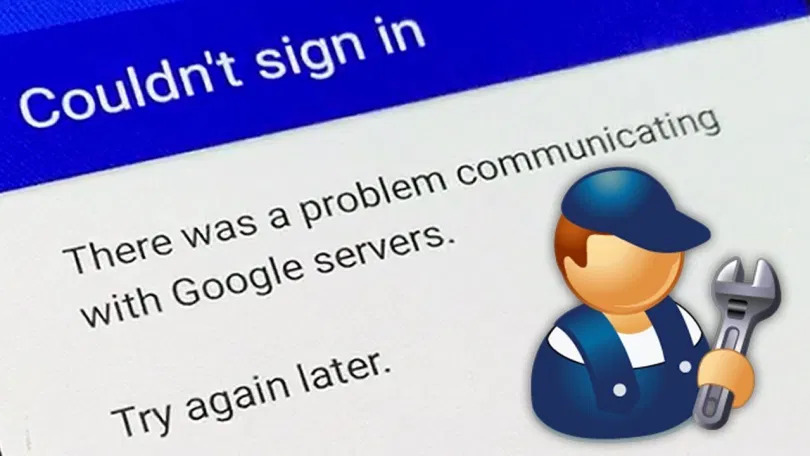
Resolving the communication issue with Google servers
It is a great idea to reboot your phone before attempting any of the suggested troubleshooting measures mentioned below. Rebooting the phone would refresh the operating system, thereby deleting any corrupt temporary data that could be triggering the issue.
After the restart, attempt to enter your account information. If the problem persists, try the below-listed troubleshooting methods. Proceed to the next method if and only when the previous method does not solve the problem.
Disable 2-Step Verification for your Google account
Google 2 Step Authentication is an additional security function. It comes into play when you log in to your account on a different device or browser.
It will send a passcode to your registered phone number (via SMS or call). You have to enter that code additionally to the required password to log in to your account. It is possible that this function is triggering this error, which is why you should attempt to disable it.
On a computer
- Access your Google account from any web browser.
- Under the “Security” option, select 2-Step Verification. It is possible that you will be required to sign in.
- Click on the “Turn off” button.
- A confirmation window asking you to affirm your decision to disable 2-Step Verification will pop up. Press “Turn off.”
On an Android device
- Open the Settings on your Android phone/tablet, navigate to Google and select your Google account.
- Press the Security button at the top.
- Select 2-Step Verification under “Signing in to Google.” You might be asked to sign in.
- Click on the “Turn off” button.
- Confirm by selecting “Turn off” again.
On an iOS device
- Open the Gmail application on your iPhone/iPad.
- Click on Menu, then Settings, then your account, and then Manage your Google Account. If you do not use Gmail, open myaccount.google.com on your browser.
- Tap Security at the top of the screen.
- Select 2-Step Verification under “Signing in to Google.”
- Choose “Turn off.”
- Confirm by selecting “Turn off” on the pop-up window.
After turning off this feature, see if the error communicating with Google servers persists.
Re-add your Google account
Occasionally, merely deleting the Google account and re-adding it will resolve the problem.
- Navigate to the Settings app from your Android phone or tablet’s home screen.
- Scroll down the Settings menu to find and open the Accounts tab.
- Scroll down to find the Google tab among the installed accounts on your device.
- Tap the Remove Account button after selecting the Google account that is giving you troubles.
- Reboot your phone.
- Navigate to the Settings app from your Android device’s home screen.
- Scroll down to the Accounts tab in the Settings menu and click to open it.
- Scroll down until you can see the Add Account tab, and then click the Google icon.
- Sign in with your Google account’s credentials.
Install Google Play Services again
A compromised Google Play Services app could trigger the issue, so you should attempt to reinstall it.
- Open your phone’s Web Browser (preferably Chrome).
- Search for “Google Play services.”
- Locate the “Google Play services” under “Apps.”
- When you click “Google Play Services,” it will take you to the Google Play Store App.
- Click “Uninstall” and then click the “Update” button.
- Delete the Google Account Manager app’s cache
A compromised Google Account Manager app may be to blame for the issue. If this is the case, clear the app’s cache.
These steps are for Samsung devices:
- Open the “Settings” menu and go to the “Apps” option.
- Select the faulty application in the list.
- To see preinstalled apps, go to Menu > Show system apps.
- Click on Storage > Clear cache > Clear data > Delete.
Erase the phone’s cache directory
Several applications on your phone use the Google platform, and compromised data in these apps can cause problems. You can clean the phone’s partition to ensure that tainted cached data do not trigger the issue.
The steps given below are applicable to Samsung smartphones.
- Switch off the device.
- Click and hold the Volume Up and Bixby keys, then the Power key.
- Release the three keys as the Android logo appears.
- Before the Android device recovery menu options appear, an ‘Installing system update’ warning will appear for 30 – 60 seconds.
- To display the wipe cache partition, repeatedly press the Volume down key.
- Press the Power button to choose.
- Click the Volume Down key to highlight yes, followed by the Power key to choose.
- “Reboot the system now” is highlighted after the wipe cache partition is complete.
- To restart the device, press the Power button.
Factory reset your phone
Factory resetting your phone should be your last resort. Factory reset your phone if and only when all of the methods mentioned above fail to resolve the problem. Before proceeding, make a backup of all your phone’s data as it will erase them during the process.
The steps given are for Samsung devices.
- Switch off the device.
- Click and hold the Volume Up and Bixby keys, then the Power key.
- Release all keys when the green Android logo appears. Before the Android device recovery menu options appear, an ‘Installing system update’ warning will appear for 30 – 60 seconds.
- Press the Volume down key multiple times until the option to ‘wipe data/factory reset’ is highlighted.
- To choose, press the Power button.
- Hold down the Volume Down key before the option ‘Yes — erase all user details’ is highlighted.
- Press the Power button to choose and start the master reset.
- When the master reset is done, the option to ‘Reboot system now’ is highlighted.
- Press the Power key to reboot the device.
Your device should now be able to communicate with Google servers without any problem.
Recommended for you: