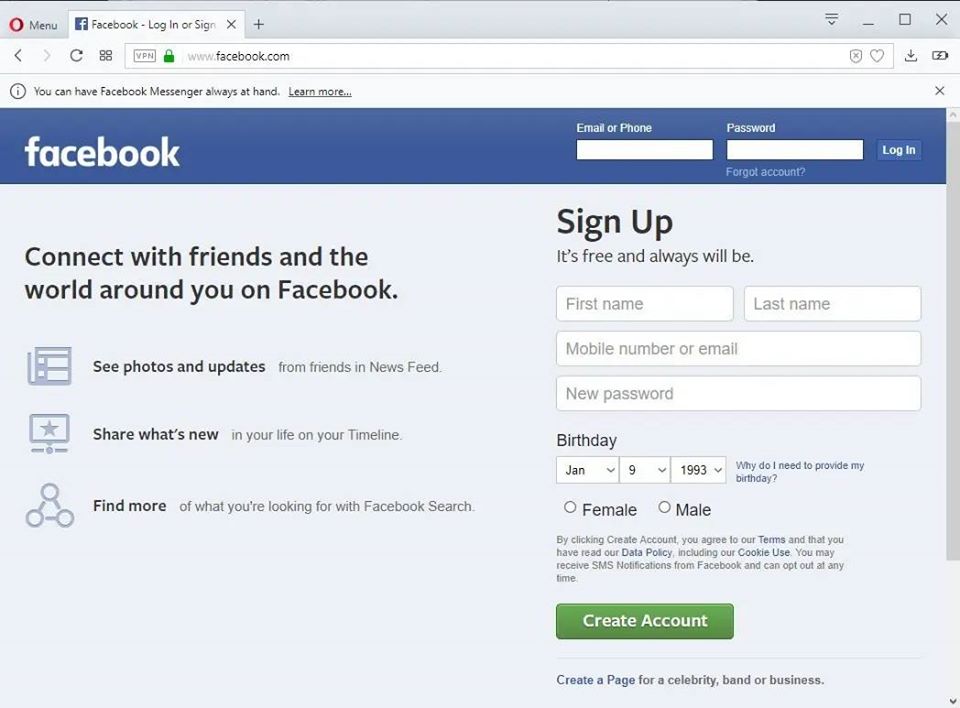
As of today, Facebook can easily be recognized as one of the most popular social platforms on the world wide web. Ever since its launch in February of 2004, and even today, Facebook has been growing and spreading vastly among the mass by providing its social network services. Today, Facebook observes more than three hundred million users in it. Almost everyone that we know of or we meet has a Facebook account. It is safe to say that now, Facebook is not just a social site anymore, but it has become one’s online identity.

Having said that, as your online identity, you might want to build it in a particular way that describes you better. For example, many people want to have their account with just their first name, for whatever reasons it may be. However, Facebook has specific policies that would bar you from having a single name account. Then, what can be done? Before we tell you about a solution, here’s a fun fact: People in Indonesia have a single name as their identity. This means that Facebook officially allows Indonesian people to have a single name account. Keeping this in mind, we will show you how to make a single name account on Facebook in an easy and fast way today. Let’s take a look without further ado!
Step 1
To get it started with, you would be required to open the Mozilla Firefox browser. If you don’t have this browser already installed in your system, you can easily go and get it installed from the Internet. Once you have opened up the browser, look for the ‘Tool’ option, and click on it. Under the ‘Tool’ option, you will find a sub-option as ‘Advanced.’ Under it, click on the ‘Network’ option. You will find the ‘Settings’ option under it. On clicking on the option, you will have to select the ‘Manual Proxy Configuration’ option. Here, you will need to change your browser’s proxy to the following:
HTTP: 119.252.160.34
PORT: 8080
You may also choose any other Indonesian proxies from various proxy sites available online such as https://www.hidemyass.com/proxy-list/
Recommended for you:
How To Auto Post Happy Birthday on Facebook Friends Timeline
Step 2
Once you have set your browser proxy to an Indonesian one, you may save the settings and exit the tab. Now, it is time for you to move on to the next step.
Step 3

Now, back to the Mozilla Firefox Browser, open a new tap and type in www.facebook.com.Once the Facebook page opens up, log into your account after putting in the necessary details, which would be your username and your password. If you don’t have a Facebook account, then we would advise you to create one by the standard procedure, after which you will be able to convert your account into a single name account. Once you have accessed your profile, you need to open the ‘General Account Settings.’
Step 4
Under the ‘General Account Settings’, you need to look up for the ‘Language’ option and change your language to ‘Bahasa Indonesia.’ Once done, you will need to move on to the next step.
Step 5
Once you have changed the language settings, you may go back to your profile and click on ‘Edit Profile.’ There, under your name option, simply remove your last name. You can now go ahead and save the said changes. As you can now see, your profile will show just your first name. You have now successfully converted your account into a single name account!
Step 6
Now all that is left for you to do is to go back to the ‘General Account Settings.’ There, under the ‘Language’ option, you need to change your language back to ‘English (US)’ or whichever language you had initially, from ‘Bahasa Indonesia’, and save it.
Step 7
Now that you have successfully made yourself a single name Facebook account, all that is left for you to do is to change the Proxy settings back to the original settings. For that, you would have to go back to the ‘Tool’ option in Mozilla Firefox Browser and lookup for the ‘Advanced’ option. Under that, find the ‘Network’ option and select the ‘Settings’ option under it. Earlier, under this option, we had asked you to choose the ‘Manual Proxy Configuration’ option. Now, you may remove it and select the ‘Use System Proxy’ setting.
With that done, you will now have yourself a single name Facebook account. Due to the policies of Facebook, having a single name account is very difficult. However, this method is one of the fastest and easiest ways to get yourself a single name Facebook account, that too, without any trouble. Therefore, don’t feel limited to express or build your online identity and try this method to get yourself a single name account on Facebook quickly.
Recommended for you:
